Building an Apache Server on Amazon Web Service
In this article I will show you how to create a custom web page in Amazon Web Service (AWS) using a script.
Scenario:
Your company wants to start shifting from using on premises servers to using servers in the cloud. Rather than purchasing all the infrastructure in a data center they ask you to create an EC2 instance in AWS to host their new website.
Tasks:
- Launch an EC2 Amazon Linux t2. micro (free tier) in a public subnet.
- Create a security group that allows inbound traffic on HTTP for 0.0.0.0/0 and allows inbound traffic on SSH from your IP address.
- SSH into your EC2 instance and install Apache with a custom webpage using a BASH script. (The webpage can be a simple Hello World or something more complex. We are not testing your HTML skills).
Before we start let's talk about Amazon Web Service (AWS).
< strong>AWS is a cloud platform created by Amazon that has over 175 services that function from data centers all over the world. Companies of all industries and sizes use AWS for their products — from tiny startups to enterprise behemoths.
Prerequisite:
- A laptop or desktop computer.
- An AWS account.
- Basic understanding of Linux.
Step 1: Configure your VPC.
Before you start building and creating in Amazon Web Service, you need to configure your network.
You will need to create an Virtual Private Cloud (VPC), a Public Subnet, Internet Gateway, and Route Table.
What is a AWS Virtual Private Cloud (VPC)?
VPC gives you full control over your virtual networking environment, including resource placement, connectivity, and security.
What is a Subnet?
A subnet is a network inside a network. Subnets make networks more effi cient. Through subnetting, network traffic can travel a shorter distance without passing through unnecessary routers to reach its destination.
What is a AWS Internet Gateway?
An Internet Gateway is a redundant, horizontally scaled, and is a highly available VPC component. It allows communication between instances in your VPC and the internet using VPC route tables for internet-routable traffic.
What is a Route Table?
A Route Table contains a set of rules, called routes, that determine where network traffic from your subnet or gateway is directed.
A. Let's create a VPC.
Sign into your AWS Management Console.
Search for VPC by typing the name in the search bar at the top. Click on the orange button to Create VPC.


Note: You have two options to create a VPC, you can use the VPC wizard, or you can can create it manually. For this project, you are going to create it manually.
Select VPC only. Provide a name for your VPC. For this project the name I chose is my-lab-vpc. IPv4 CIDR Block is going to be 192.168.0.0/16.

Leave everything else as default and click on Create VPC.
B. Next, you will create a public subnet.
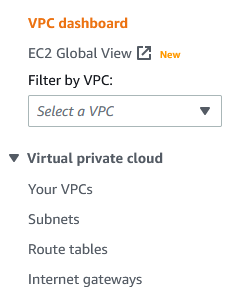
In the VPC dashboard, there is a list of options on the left side. Click on the Subnets. Then click on the Create subnet button.


- For VPC ID, select the VPC you create a few minutes ago.
- Give your public subnet a name. My example is my-public-subnet.
- Pick an availability zone. My example I am using US-EAST-1A
- Select your IPv4 CIDR Block range: 192.168.1.0/24
- Click on Create Subnet at the bottom.

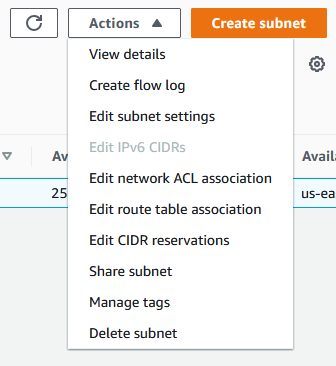
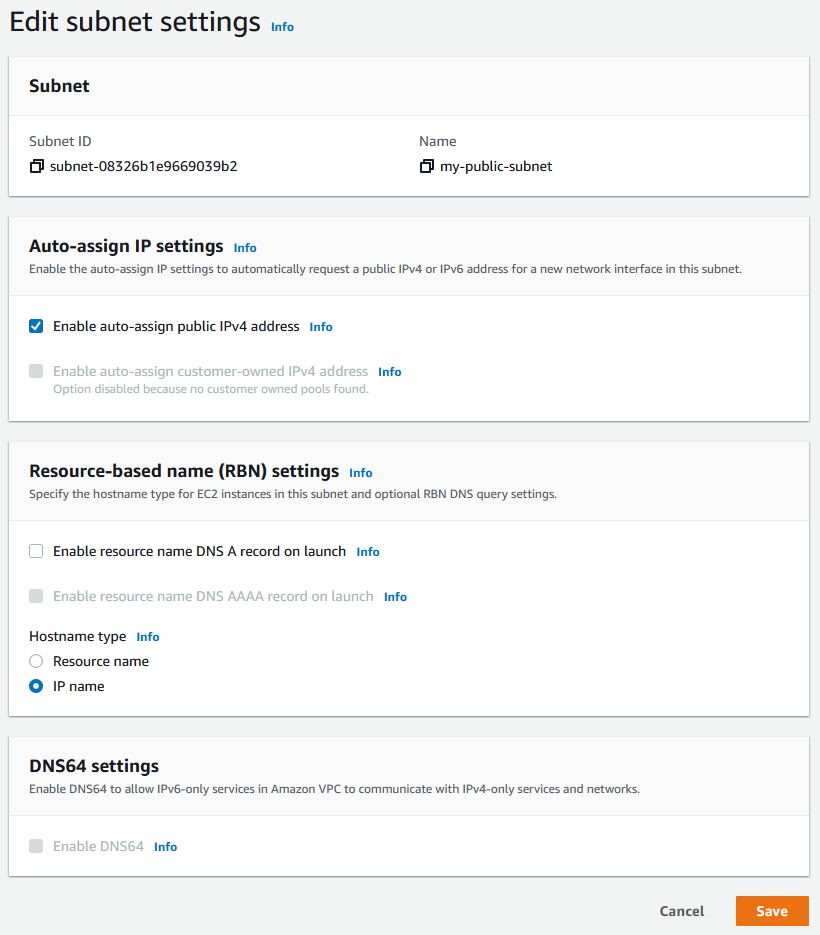
Next you need to make some additional changing to your public subnet.
Click the check box next your VPC. Click on Actions to view the drop-down menu and select Edit subnet settings. Click the checkbox to Enabled auto-assigned public IPv4 address. Click on the Save button.

C. Creating Internet Gateway and Route Table.
On the left side, click on Internet Gateways. Click on the Create Internet Gateway orange button.

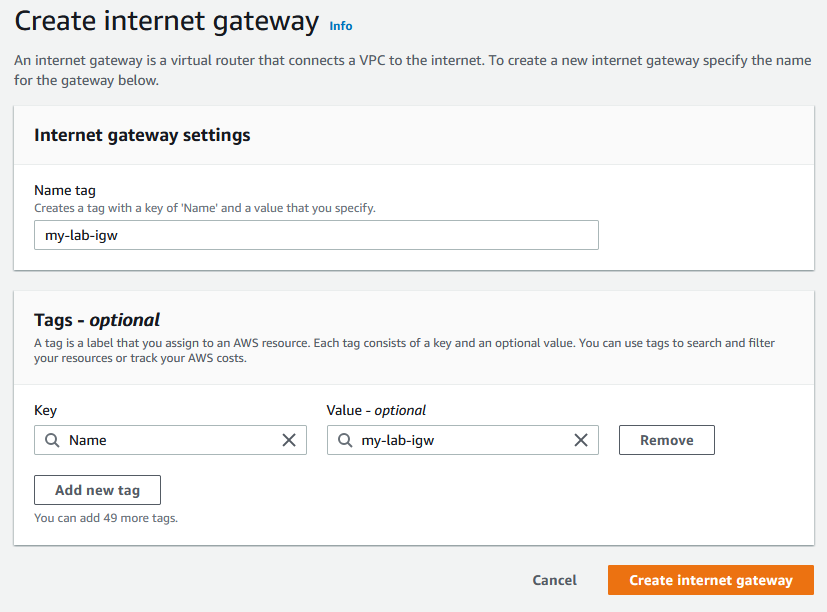
Give your Internet gateway a name. My example is my-lab-igw. Leave everything default and click on Create internet gateway button.
Now you have to attach this internet gateway to your VPC. Click on Actions to view the drop-down menu and select Attach to VPC.
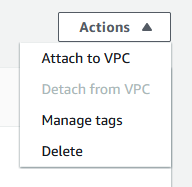
In the Available VPCs search bar, select your VPC and click on Attach internet gateway.

D. Configure the routing within the VPC and Internet Gateway.
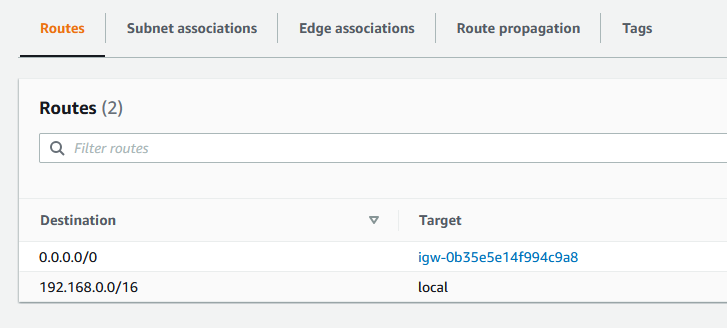
On the left hand side, click on Route Tables. You will notice that there is already a route table created that is connected to your VPC. Click on that route table and edit routes.


Click on Add route and put the univers al IP address 0.0.0.0/0 and point this route to the internet gateway to you created. Which means that any IP address can access this internet gateway.

Next we need to associate your public subnet with this route table. Click on Subnet associations.
Click on Edit subnet associations.
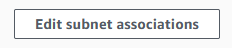
Click on the checkbox to add your subnet and click on Save associations.

Now your public subnet will have access to the internet.
Step 2: Configure your AWS Security Groups.
What are AWS Security Groups?
AWS Security group acts as a virtual firewall for your EC2 instances to control incoming and outgoing traffic. Both inbound and outbound rules control the flow of traffic to and traffic from your instance, respectively.
On the left side, click on Security group, on the top right click on Create Security group button.


- Name your security group. My example name is my-lab-sg.
- Add a description. My example is This is a security group for my web server project.
- Make sure you select the VPC you created in step 1. My example is my-lab-vpc.

Configure your Inbound rules:
- For inbound you are going to add two SSH rules.
- The first SSH rule is for any IPv4 address 0.0.0.0/0 (which is not secure)
- The second SSH rule is for my IP address 192.168.56.1

Note: To find out what your IP address on a windows machine, open up the command line application and enter in ipconfig.
Configure your Outbound rules.
- Just create one rule for all traffic.
- Anywhere-IPv4 0.0.0.0/0
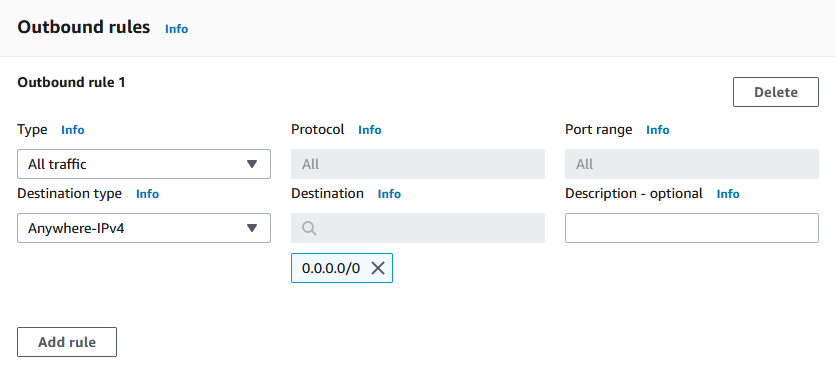
Click the Create security group button.
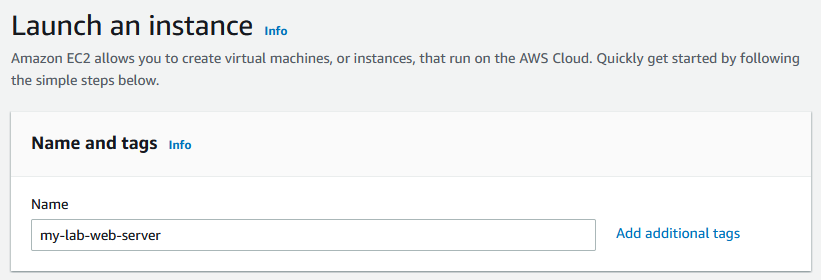
Step 3: Launching an EC2 Instance.
What is an EC2 instance?
Amazon EC2 provides a wide selection of instance types optimized to fit different use cases. Instance t ypes comprise varying combinations of CPU, memory, storage, and networking capacity and give you the flexibility to choose the appropriate mix of resources for your applications. Each instance type includes one or more instance sizes, allowing you to scale your resources to the requirements of your target workload.
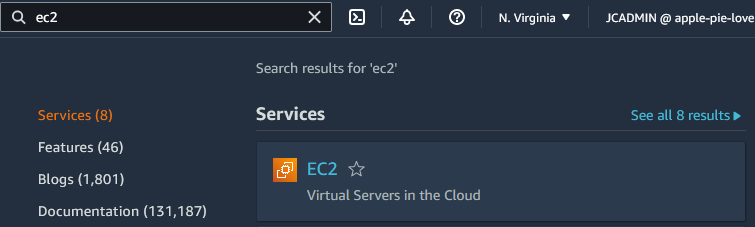
In the search bar enter in EC2. Click on EC2 and then click the orange Launch instance button.

For this project:
- Provide your instance with a new. The name I used is my-lab-web-server.
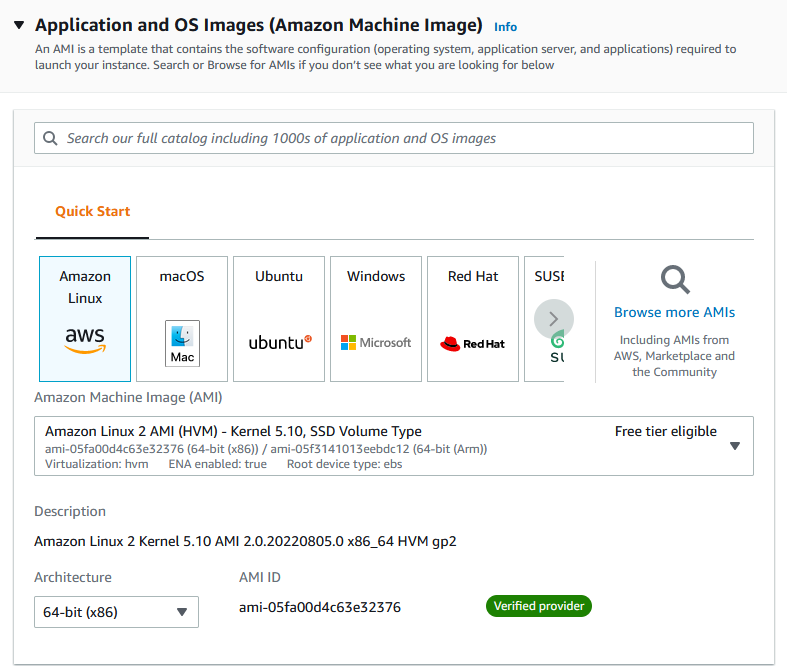
- The OS image you are going to use is Amazon Linux 2 AMI (HVM) -Kernel 5.0 SSD Volume — Free tier eligible.
- For instance type make sure t2. micro is selected.< /li>
Click the Create new key pair button. Provide a name for your key pair. I am going to name my key pair (my-aws-key) and keep everything the same.

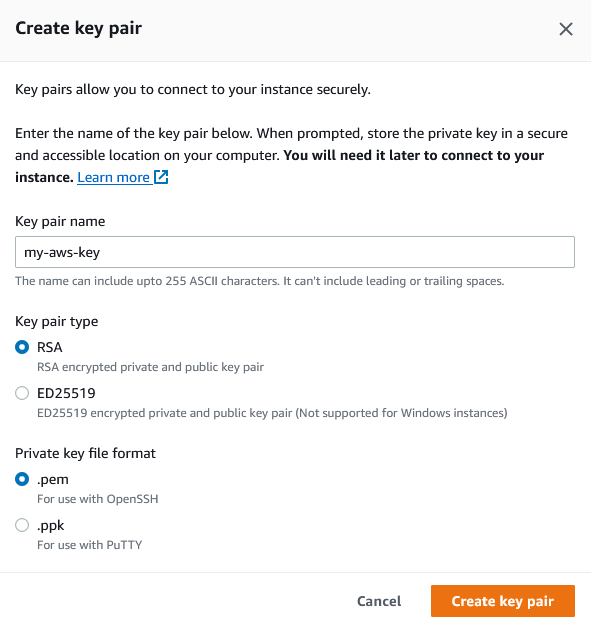
Note: In order to connect to this instance, you need to create a key pair. You will able to create a key pair when you launch an instance. Make sure you save your key pair for future projects.
Next, you will configure your Network settings.
- In the VPC box, search for the VPC you created earlier (my-lab-vpc).
- For subnet, pick the public subnet you created earlier (my-public-subnet).
- Auto-assigned public IP, make sure its enabled.
- Firewall (security groups), select existing security group and select the group we created earlier (my-lab-sg).

For this project, you will keep everything else the same and click on Launch instance.

Click on the view all instance button to see the status of your web server.
Step 3: Connecting to your Linux web server.
There are several ways to connect to your instance: EC2 Instance Connect, Session Manager, SSH Client. and EC2 Serial Console.
You are going to connect to your EC2 instance via SSH.
This was a pretty tricky for me to figure out but I search on youtube and found this helpful video. <https://www.youtube.com/watch?v=jIxkbXB6-38>
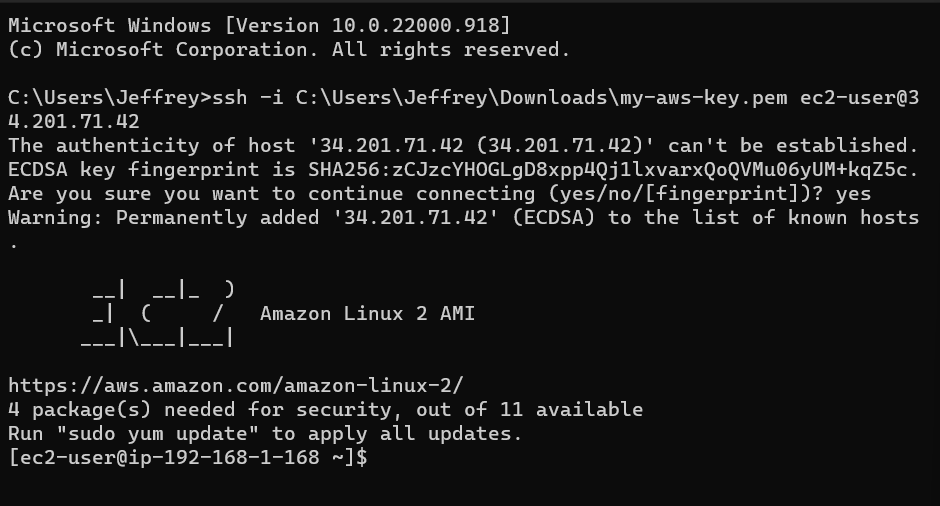
Use the following command
ssh -i </your_local_path/my-key-pair.pem> ec2-user@<my-instance-public-ip>
example: ssh -i C:\Users\Jeffrey\Downloads\my-aws-key.pem ec2-user@34.201.71.42
Step 4: Update Linux server and install Apache
First I am going to create a script file by using the touch command.

Next, you make sure the file is a executable by using the chmod command.

Using the ls -al command, you can verify that the file is now an executable.

Use the vim command to edit Apache_install.sh.


Use the sudo command to run the script.

Enter your IP address in a web browser to view your test web page.

I ran into an issue where the web page was not loading. I did some research that the issue with my security group. I did not allow web traffic for port 80(HTTP) and 443(HTTPS).
I went back to my security group and added port 80 and 443 with the universal IP address.

I enter the sudo command to run script again. After a few minutes. I refresh my web browser and my test page finally loaded.

Project Completed!!!!!
Building an Apache Server on Amazon Web Service was originally published in Towards AWS on Medium, where people are continuing the conversation by highlighting and responding to this story.
Comments
Post a Comment